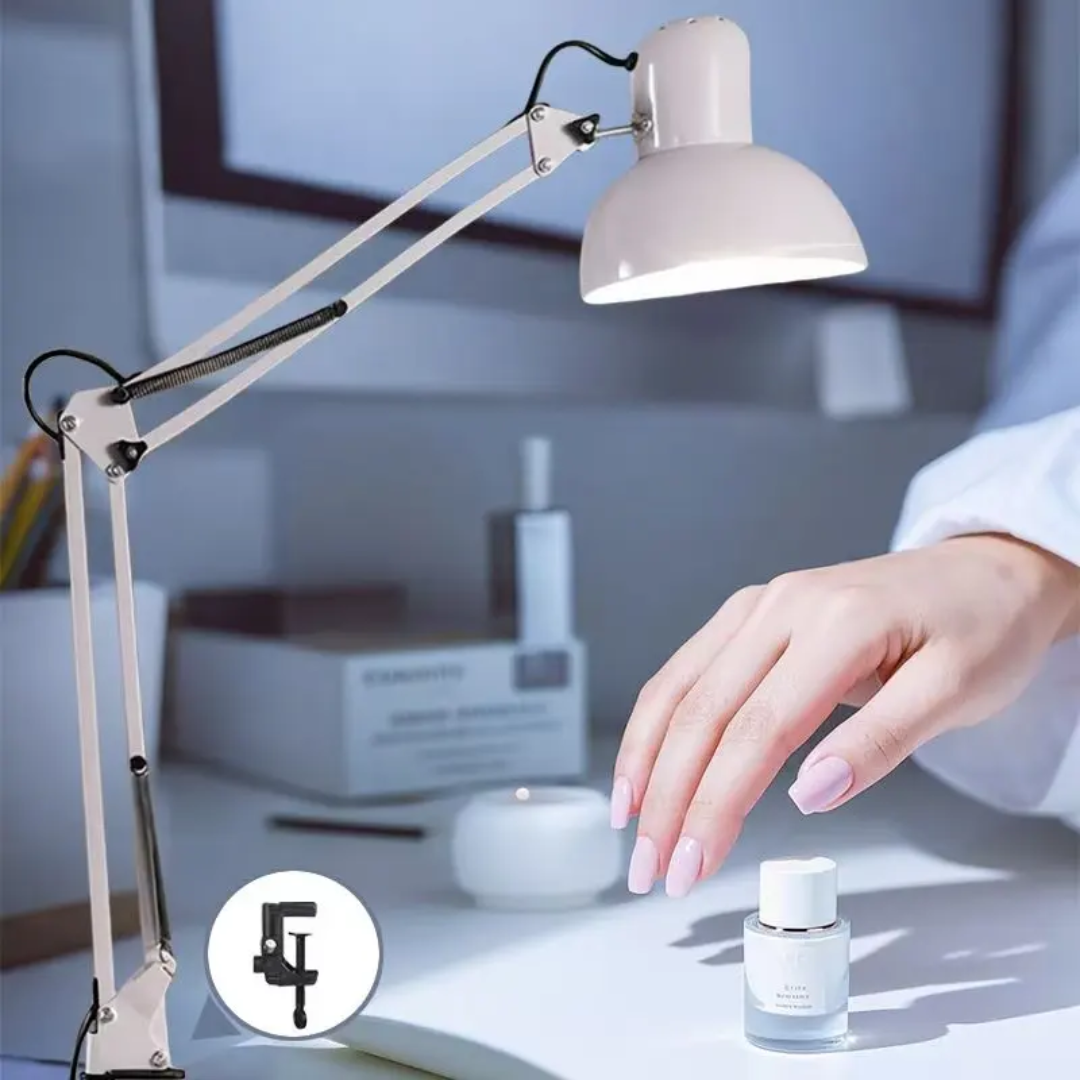
YEARLOWEST Professional Architectural Swing Arm Salon Lamp 12V
YEARLOWEST Professional Architectural Swing Arm Salon Lamp 12V
SKU:
Out of stock
Couldn't load pickup availability
Important Note: These videos are for technique demonstration and operation reference only. While the item in the video may vary slightly in appearance or packaging from our actual stock, the professional functions and usage steps are exactly the same. Thank you for your understanding.
Click Here To Learn : HOW TO USE
Gemini said
This is the professional English manual for the Classic Architectural Swing Arm Salon Lamp. This spring-balanced design is a favorite for nail technicians and desktop professionals because of its wide range of motion and space-saving clamp base.
Professional Architectural Swing Arm Salon Lamp
USER MANUAL
The Classic Swing Arm Lamp is designed for maximum versatility and precision. Its multi-jointed steel arm and spring-balanced system allow for effortless positioning, providing concentrated light exactly where you need it—making it an essential tool for high-detail salon work like manicures and nail art.
1. Technical Specifications
-
Material: High-Grade Metal with Reinforced Tension Springs
-
Base Type: Heavy-duty Desktop C-Clamp
-
Voltage: 220V - 240V ~ 50/60Hz
-
Bulb Socket: Standard E27 (Screw-in type)
-
Max Wattage: 40W (Incandescent) / 12W (LED recommended)
-
Arm Reach: Approx. 80cm fully extended
-
Finish: Matte White / High-Heat Resistant Coating
2. Installation Guide
-
Mount the Clamp: Open the C-clamp by turning the bottom screw. Slide it onto the edge of your table or workstation and tighten until secure.
-
Assemble the Arm: Insert the pin at the bottom of the lamp arm into the hole on top of the clamp.
-
Install the Bulb: Ensure the lamp is unplugged. Screw a standard E27 bulb into the socket inside the lamp shade.
-
Connect Power: Plug the power cord into a standard wall outlet.
3. Operation & Adjustment
-
Power Switch: Use the inline rocker switch on the power cable to turn the lamp ON or OFF.
-
Angle Adjustment: Grasp the lamp head or the middle of the arm to move the light into position. The internal tension springs will hold the position automatically.
-
Head Rotation: The lamp shade can be tilted and rotated to direct light away from your eyes and toward the work surface.
-
Tension Knobs: If the joints feel too loose or too tight, use a screwdriver to gently adjust the screws at the pivot points.
4. Bulb Replacement
-
Turn off the lamp and unplug it from the power source.
-
Wait at least 5 minutes for the shade and bulb to cool down.
-
Unscrew the old bulb counter-clockwise.
-
Insert a new E27 bulb and screw in clockwise.
-
Pro Tip: Use a "Cool White" LED bulb for the best color accuracy during nail services.
-
5. Maintenance & Safety
-
Heat Warning: The metal shade can become hot if using traditional incandescent bulbs. Avoid touching the shade while the lamp is on.
-
Cleaning: Wipe with a dry or slightly damp cloth. Never use abrasive cleaners or submerge the lamp in water.
-
Cord Safety: Ensure the power cable has enough slack to move freely when the arm is extended.
-
Indoor Use Only: Do not use in damp or outdoor environments.